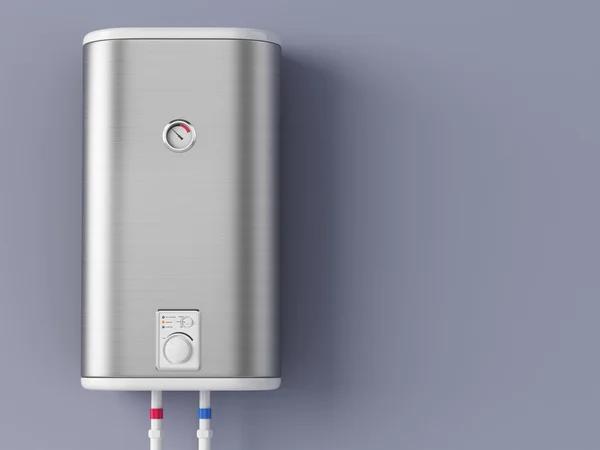
Installing a water heater can seem like a daunting task, but with the right approach, it can be completed smoothly from start to finish. The process begins with selecting the appropriate water heater that suits your household’s needs. Factors such as fuel type, capacity, energy efficiency, and space availability should be considered carefully to ensure optimal performance and cost-effectiveness. Whether opting for a traditional tank model or an on-demand tankless system, understanding these elements is crucial before moving forward.
Once the suitable unit is chosen, preparation of the installation site is essential. This involves assessing existing plumbing and electrical systems to confirm compatibility with the new water heater. Any necessary repairs or upgrades must be addressed beforehand to prevent complications during installation. Proper clearance around the unit should also be ensured for maintenance access and safety compliance according to local building codes.
The next step involves shutting off power or gas supply and draining any remaining water from the old system if replacing an existing heater. Removing the old unit requires care to avoid damaging surrounding pipes or fixtures. After removal, thorough inspection of connections helps identify potential leaks or corrosion that could affect performance.
Installing the new water heater starts by positioning it drain cleaning securely in place while following manufacturer guidelines regarding orientation and mounting requirements. Connecting cold water inlet and hot water outlet lines must be done meticulously using appropriate fittings and sealing techniques to prevent leaks. If applicable, connecting gas lines demands precision work by a qualified technician due to safety concerns involving combustion appliances.
Electrical connections need careful attention as well; grounding wires should be properly attached along with correct voltage matching based on specifications provided by both manufacturer instructions and local regulations. Installing pressure relief valves is another critical aspect since they protect against excessive pressure buildup inside tanks which could lead to dangerous ruptures.
After all physical connections are made, restoring power or gas supply allows initial testing of functionality through temperature settings adjustments and leak detection measures around joints using soapy solutions or electronic detectors when available. Monitoring performance over several hours ensures consistent heating output without fluctuations indicative of underlying problems.
Finally, educating homeowners about routine maintenance tasks such as flushing sediment buildup periodically extends equipment lifespan significantly while maintaining efficiency levels high throughout usage periods. Providing clear documentation including warranty information completes this seamless installation experience ensuring confidence in long-term operation without unexpected interruptions or costly repairs down the line.
By following these systematic steps attentively from selection through final testing stage one can achieve a reliable water heating solution tailored specifically for their home environment efficiently and safely every time without unnecessary hassle involved at any point during process execution itself thereby guaranteeing satisfaction upon completion consistently across diverse scenarios encountered within typical residential settings nationwide today regardless geographic location constraints imposed naturally otherwise complicating matters unnecessarily otherwise indeed!
Service Squad
680 E Colorado Blvd, Suite 180, Pasadena, CA 91101
626-333-6519